 There are so many ways to make nature crowns! All you really need is a strip of paper or cardboard fitted to your child’s head and some glue or tape (a hot glue gun is helpful but not required). Take a nature walk and collect natural items that appeal to your child and then glue or tape them onto the strip of paper/cardboard. Voila!
We love making nature crowns each season – they are always unique and special. This site has some great ideas and images to get you started. We hope you enjoy making your own nature crowns!


 Play an old favorite game with natural items! The player that is the “hider” chooses a natural item. The “seekers” use their senses to really explore the item before the hider hides it. Discuss its details together: is it large, medium or small? Is it heavy or light? Smooth or rough? It’s important to practice keen observation skills as there may be other natural items that look very similar! Consider marking the item with a sharpie or a string if you think that would be helpful.
 Young children love using scissors and it’s so important to give them lots of opportunities to sharpen their scissor skill set on items other than paper. What could be easier than offering your children the chance to practice their cutting skills on yard scraps or items found on a nature walk?


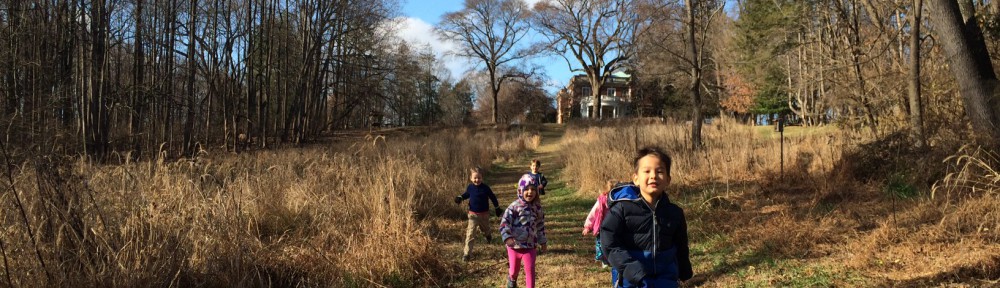
 Head outside and find a climbing tree to create a tree obstacle course! Find different ways to climb through the tree – Japanese Maples and Bush Honeysuckle work well for young children – and consider adding a rope for more challenges. You can switch up speed, height, and distance for more or less challenge depending on your child’s age, comfort and skill level.


 Making art from natural objects is so much fun! For this activity, collect any natural items that are appealing to you and your child like twigs, acorns, walnuts, invasive species, garden flowers, etc. and arrange them into portraits on a canvas. A paper plate or cardboard work well as a canvas (both outdoors and indoors) as do flat stumps in nature as well. This activity is a great conversation starter about different emotions and feelings. It’s so beneficial for our children to hear (over and over, so many times) that all feelings are okay and all feelings pass. We ALL have big feelings every day – especially right now during this time of uncertainty. Ask your child questions about the faces they create on their canvas and to remember a time they felt that emotion. Create different faces and play a “guess that feeling” game with your kiddo- it’s sure to have you both laughing in no time!
 The Number Ride game is really simple and totally customizable. All you need is sidewalk chalk (or markers and paper indoors). Make many sets of the same 3 numbers a short distance apart. The goal is to bike ride (or hop or jump) on whichever number chosen that round, from the start to the finish. Vary the distance of the numbers based on age and ability and plan for your child to be able to hit the same number 5 or 6 times. It’s great to start with consecutive numbers like 1, 2, and 3 and you can quickly move to playing with concepts like evens (2, 4 and 6’s) and odds (1, 3 and 5’s) as well as using the numbers to show children how to count by 5’s and 10’s. Have fun with the Number Ride!